I mentioned the other day that we were going to attempt to build a gymnastics mushroom this weekend.
Mike's a bit of a hard worker, and managed to go get all of the supplies for that project AND mow the lawn while the boys and I were at day 2 of our yard sale.
Walking into the house and seeing the supplies....knowing what they were for.....left us with three VERY EXCITED LITTLE RASCALS.
Who jumped right into the project.
Which means we now have a completed mushroom in our upstairs loft. Who wants to take bets on how soon it gets fought over and how soon we'll be making a second on? ;-)
So, I present to you:
How to Build a Mushroom, in pictures
 |
| Step 1: hunt for a very big plastic bucket. Only find purple ones. Spray paint it black so the boys don't complain about a "girly" mushroom |
 |
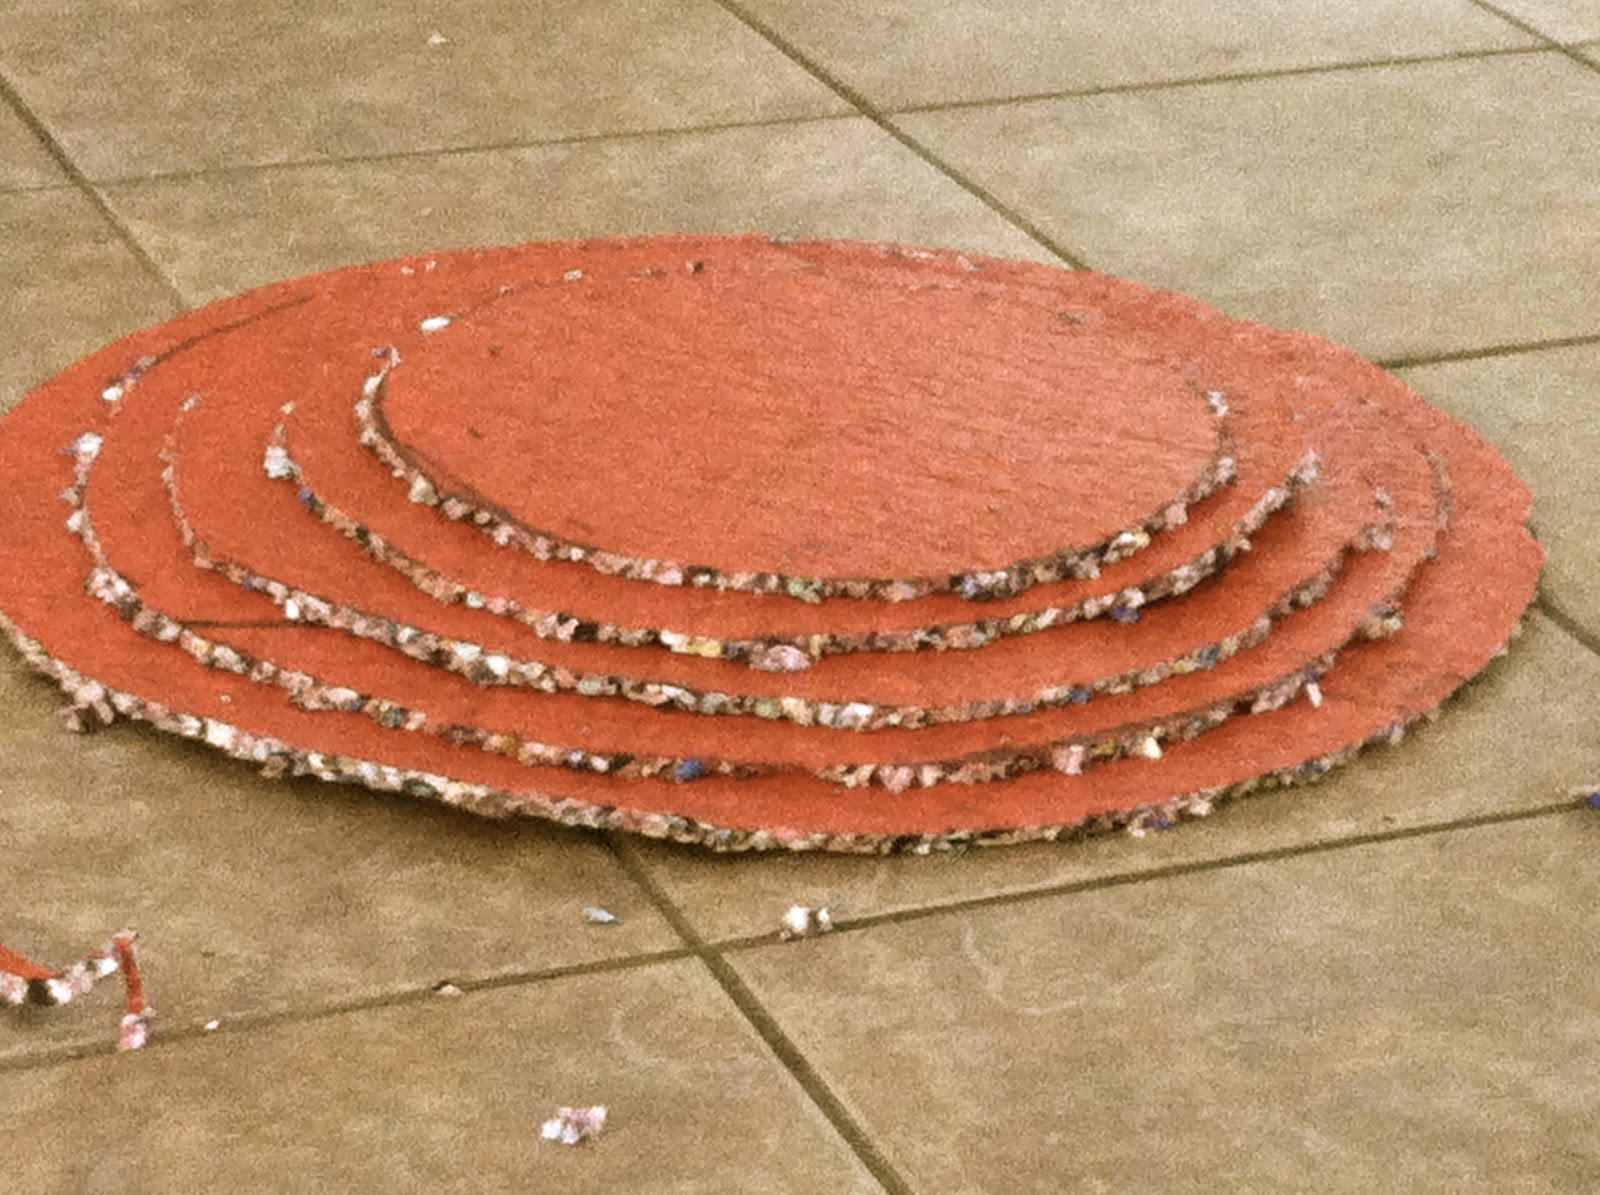
| Step 2: Cut a bunch of concentric circles out of carpet padding |
 |
| Step 3: Watch your stack of circles grow.... |
 |
| Step 4: Glue (we used both glue all and gorilla glue) the circles on a 23-inch wooden table top, bought at a home improvement store |
 |
| Step 5: make sure everything is secure |
 |
| Step 6: Admire your work and creativity |
 |
| Step 7: Admire it a little bit longer (preferably while drinking coffee) |
 |
| Step 8: Place table top, bottom-up, on a yard of store-bought vinyl. |
 |
| Step 9: Start stapling the vinyl into the board, and stop to instruct the rascals to move further away from the staple gun |
 |
| Step 10: Once the rascals are safely out of the way...continue your upholstery job |
 |
| Step 11: Place bucket on top of the upside-down mushroom cap |
 |
| Step 12: Screw the bucket into the table top |
 |
| Step 13: Admire your handiwork |
 |
| Step 14: Finally let the rascals get close to it and enjoy their squeals of joy |
 |
| Step 15: Take a picture, after having the rascals back away from it again |
 |
| Step 16 - A: Let the fun begin!! |
 |
| Step 16 - B |
 |
| Step 16 - C |
And now...the moment you've all been waiting for.......the mushroom in action:


Too cool!! I want to get my girls into gymnastics, but I'm not sure we could afford it. This is great!
ReplyDeleteAwesome.. and sooo creative.
ReplyDeleteOH man thank you for this post!!! We have a future star and need to have an at home tool and dont have the funds to buy the 300 buck ultra dome! This is our weekend project!
ReplyDeleteGo for it! It was so easy and MUCH MUCH cheaper!
ReplyDeleteI have a friend who weighted hers by pouring cement into the "lip" of the bucket - we might have to do the same soon, since the boys are much bigger than they were a year ago. Depending on the size/age of your future star, you might want to do it now!
Great advice! Today is the day we build. I will see about weighting it. My sons a small level 5 and I know he will need it for level 5 and 6.
ReplyDelete